oVirtは、インフラストラクチャ全体の管理に使用できる無料のオープンソースの分散仮想化ソリューションです。 Red Hat Enterprise Virtualizationに基づいており、Webベースのインターフェースから仮想マシン、コンピューティング、ストレージ、ネットワークリソースを管理できます。 KVMハイパーバイザーを使用し、libvirt、Gluster、PatternFly、Ansibleなどの他のいくつかのコミュニティプロジェクトに基づいて構築されています。
このチュートリアルでは、CentOS 8サーバーにoVirtをインストールする方法を説明します。
前提条件
- 最低16 GBのRAMを備えたCentOS 8を実行しているサーバー。
- rootパスワードがサーバーに構成されます。
入門
開始する前に、システムにFQDNホスト名を設定する必要があります。次のコマンドで実行できます。
hostnamectl set-hostname centos.example.com次に、/ etc / hostsファイルを編集して、システムIPをホスト名にバインドする必要があります。
nano /etc/hosts次の行を追加します。
your-server-ip centos.example.com
終了したら、ファイルを保存して閉じます。
必要なリポジトリをインストールする
次に、システムにoVirtとその他の必要なリポジトリを追加する必要があります。
最初に、次のコマンドを使用してoVirtリポジトリをインストールします。
dnf install https://resources.ovirt.org/pub/yum-repo/ovirt-release44.rpmインストールしたら、次のコマンドでJavaパッケージツール、pki-deps、PostgreSQLモジュールを有効にします。
dnf module enable javapackages-tools -y
 dnf module enable pki-deps -y
 dnf module enable postgresql:12 -y
完了したら、次のステップに進むことができます。
oVirt Engineのインストールとセットアップ
まず、次のコマンドを使用してリポジトリを更新します。
dnf update -yリポジトリが更新されたら、次のコマンドを使用してoVirt Engineをインストールします。
dnf install ovirt-engine -yインストールが完了したら、次のコマンドを使用してoVirt Engineを構成できます。
engine-setup以下に示すように、セットアップ中にいくつかの質問が表示されます。
          --== PRODUCT OPTIONS ==--

          Configure Cinderlib integration (Currently in tech preview) (Yes, No) [No]: Yes
          Configure Engine on this host (Yes, No) [Yes]: Yes

          Configuring ovirt-provider-ovn also sets the Default cluster.'s default network provider to ovirt-provider-ovn.
          Non-Default clusters may be configured with an OVN after installation.
          Configure ovirt-provider-ovn (Yes, No) [Yes]: Yes
          Configure WebSocket Proxy on this host (Yes, No) [Yes]: Yes

          * Please note * : Data Warehouse is required for the engine.
          If you choose to not configure it on this host, you have to configure
          it on a remote host, and then configure the engine on this host so
          that it can access the database of the remote Data Warehouse host.
          Configure Data Warehouse on this host (Yes, No) [Yes]: Yes
          Configure Grafana on this host (Yes, No) [Yes]: Yes
          Configure VM Console Proxy on this host (Yes, No) [Yes]: Yes

          --== PACKAGES ==--

[ INFO  ] Checking for product updates...
[ INFO  ] No product updates found

          --== NETWORK CONFIGURATION ==--

          Host fully qualified DNS name of this server [centos.example.com]: Yes
[WARNING] Host name Yes has no domain suffix
[ ERROR ] Host name is not valid: Yes did not resolve into an IP address
          Host fully qualified DNS name of this server [centos.example.com]:
[WARNING] Failed to resolve centos.example.com using DNS, it can be resolved only locally

          Setup can automatically configure the firewall on this system.
          Note: automatic configuration of the firewall may overwrite current settings.
          Do you want Setup to configure the firewall? (Yes, No) [Yes]: Yes
          --== DATABASE CONFIGURATION ==--

          Where is the DWH database located? (Local, Remote) [Local]: Local

          Setup can configure the local postgresql server automatically for the DWH to run. This may conflict with existing applications.
          Would you like Setup to automatically configure postgresql and create DWH database, or prefer to perform that manually? (Automatic, Manual) [Automatic]:
          Where is the ovirt cinderlib database located? (Local, Remote) [Local]:
          Setup can configure the local postgresql server automatically for the CinderLib to run. This may conflict with existing applications.
          Would you like Setup to automatically configure postgresql and create CinderLib database, or prefer to perform that manually? (Automatic, Manual) [Automatic]:
          Where is the Engine database located? (Local, Remote) [Local]:

          Setup can configure the local postgresql server automatically for the engine to run. This may conflict with existing applications.
          Would you like Setup to automatically configure postgresql and create Engine database, or prefer to perform that manually? (Automatic, Manual) [Automatic]:

          --== OVIRT ENGINE CONFIGURATION ==--

          Engine admin password:

          --== SUMMARY ==--

[ INFO  ] Restarting httpd
          Please use the user 'admin@internal' and password specified in order to login
          Web access is enabled at:
              http://centos.example.com:80/ovirt-engine
              https://centos.example.com:443/ovirt-engine
          Internal CA 65:FA:CD:BF:DD:2D:F4:99:D6:63:85:80:97:B9:66:B9:C7:29:5A:F3
          SSH fingerprint: SHA256:Y46liXyme5Fz/oJA9QaYY1dhK8BKeJiw1kcSjOYL204
[WARNING] Less than 16384MB of memory is available
          Web access for grafana is enabled at:
              https://centos.example.com/ovirt-engine-grafana/
          Please run the following command on the engine machine centos.example.com, for SSO to work:
          systemctl restart ovirt-engine

          --== END OF SUMMARY ==--

[ INFO  ] Stage: Clean up
          Log file is located at /var/log/ovirt-engine/setup/ovirt-engine-setup-20200830105920-2u1ydn.log
[ INFO  ] Generating answer file '/var/lib/ovirt-engine/setup/answers/20200830110513-setup.conf'
[ INFO  ] Stage: Pre-termination
[ INFO  ] Stage: Termination
[ INFO  ] Execution of setup completed successfully
インストールが正常に完了すると、上記の出力にoVirt管理コンソールとGrafanaダッシュボードのURLが表示されます。
SELinuxとファイアウォールを構成する
CentOS 8ではデフォルトでSELinuxが有効になっているため、oVirt用にSELinuxを設定する必要があります。次のコマンドで設定できます。
setsebool -P httpd_can_network_connect 1次に、firewalldのポート80と443を許可する必要があります。次のコマンドで実行できます。
firewall-cmd --permanent --zone public --add-port 80/tcp
firewall-cmd --permanent --zone public --add-port 443/tcp
firewall-cmd --reload完了したら、次のステップに進むことができます。
oVirt管理コンソールにアクセスする
次に、Webブラウザーを開き、URL https://centos.example.com/ovirt-engine/sso/login.htmlを入力します 。 oVirtログインページが表示されます。
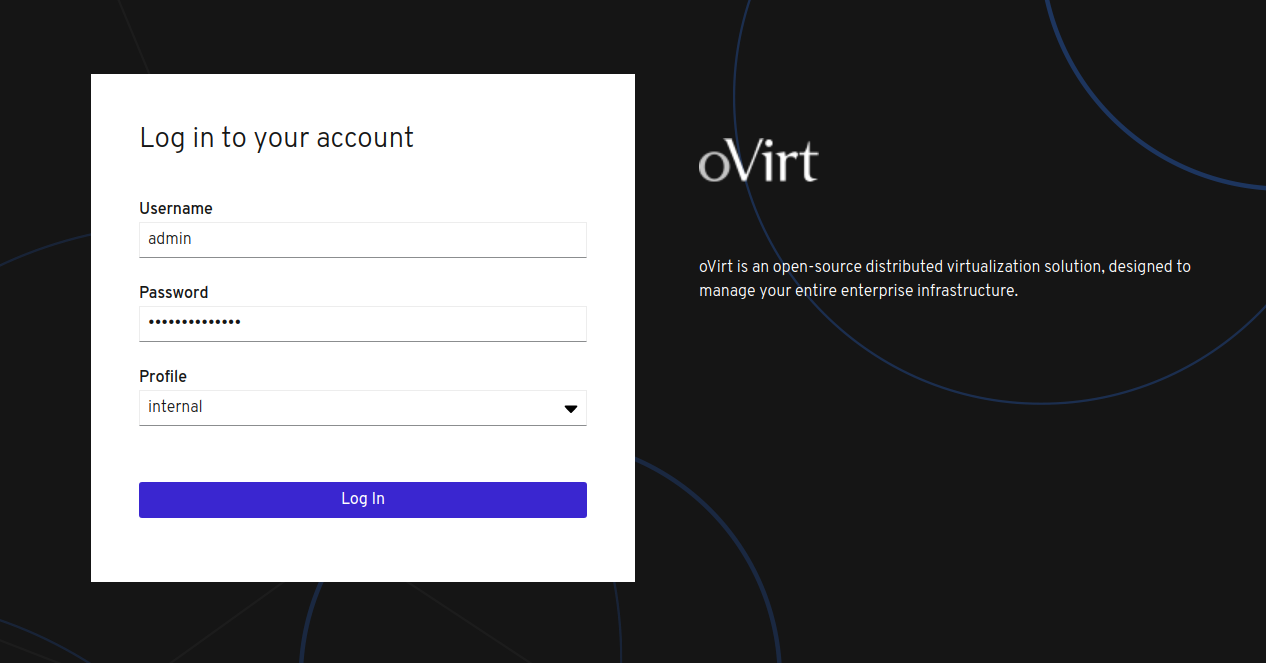
管理者としてのユーザ名とインストール時に設定したパスワードを入力して、 ログインボタンをクリックします。次の画面が表示されます。
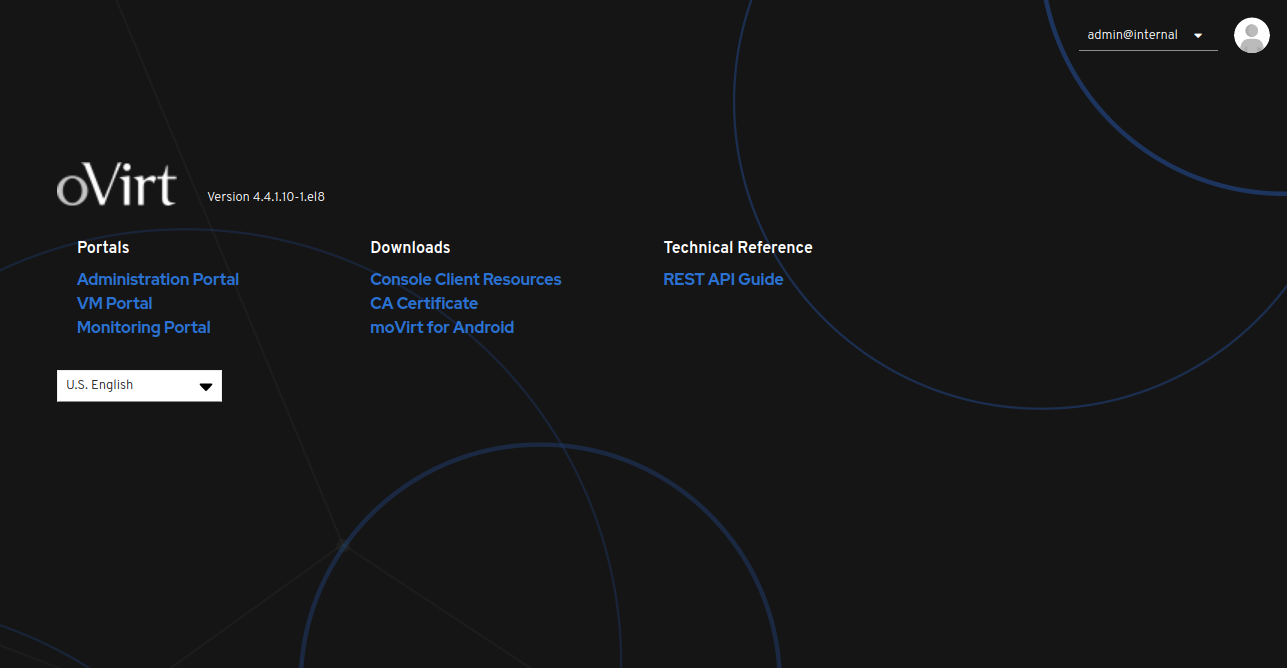
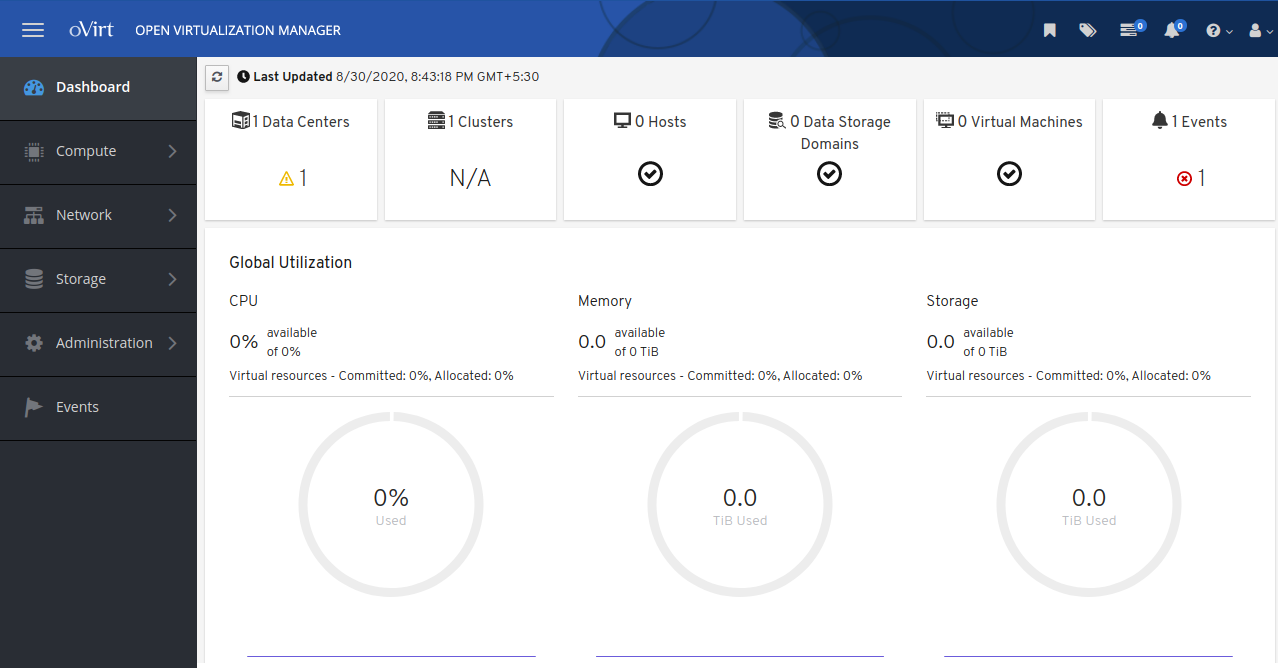
次に、 管理 ポータルをクリックします。次の画面にoVirtダッシュボードが表示されます。
結論
おめでとう! CentOS 8サーバーにoVirt Engineが正常にインストールされました。これで、oVirtコンソールからリモート仮想化ホストを追加し、oVirtダッシュボードから最初の仮想マシンの作成を開始できます。ご不明な点がございましたら、お気軽にお問い合わせください。 広告
Hitesh Jethvaについて
Linuxシステム管理者としての8年以上の経験。私のスキルには、Redhat / Centos、Ubuntu NginxおよびApache、Mysql、Subversion、Linux、Ubuntu、Webホスティング、Webサーバー、Squidプロキシ、NFS、FTP、DNS、Samba、LDAP、OpenVPN、Haproxy、Amazon Webサービスに関する深い知識が含まれます、WHMCS、OpenStack Cloud、Postfix Mail Server、セキュリティなど。